Drip email campaigns allow you to trigger an automated series of emails. To create a drip email campaign, follow the steps outlined below.
You might also be looking for:
👉 Send automated onboarding emails
👉 Send automated subscription renewal reminder emails
1. Click EMAIL > DRIP CAMPAIGNS from the left hand navigation.
2. Click ADD DRIP CAMPAIGN.
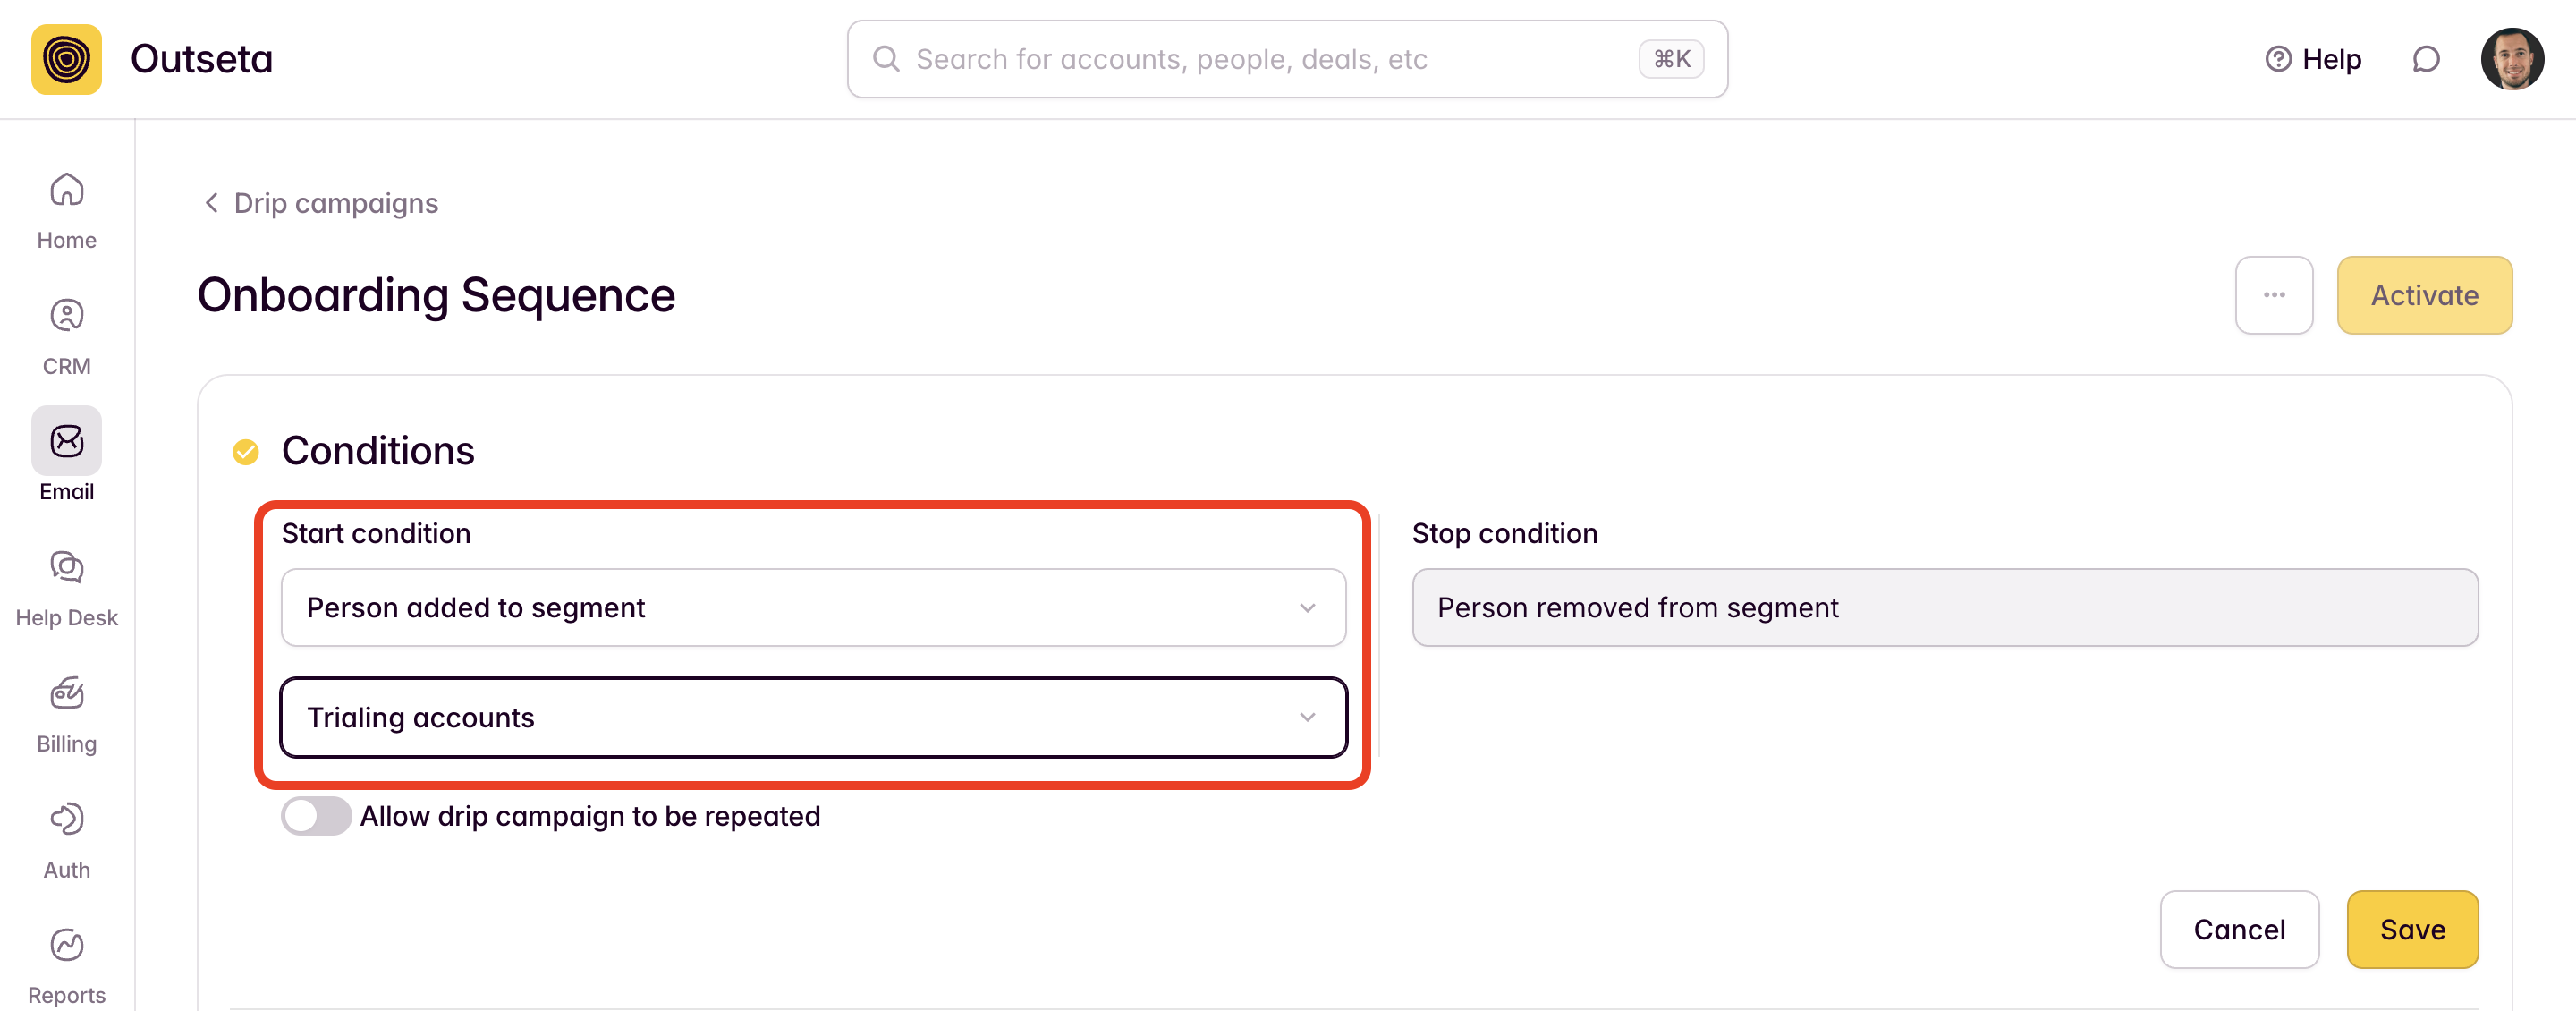
3. Name your drip campaign and select a START CONDITION. Your emails can be triggered when:
- A person subscribes to a mailing list
- A person is added to a segment
- A person performs a custom activity
The vast majority of drip campaigns are triggered when a user is added to a segment.
NOTE: You can trigger drip campaigns from custom events that you post to the activity feed. To trigger campaigns based off of a custom activity make sure to post your events to the Add custom activity API. Then make sure that the title of those events matches what you define as the trigger start and stop value.
In this case we've selected to start the drip campaign when a user is added to the "Trialing Accounts" segment. Click SAVE.
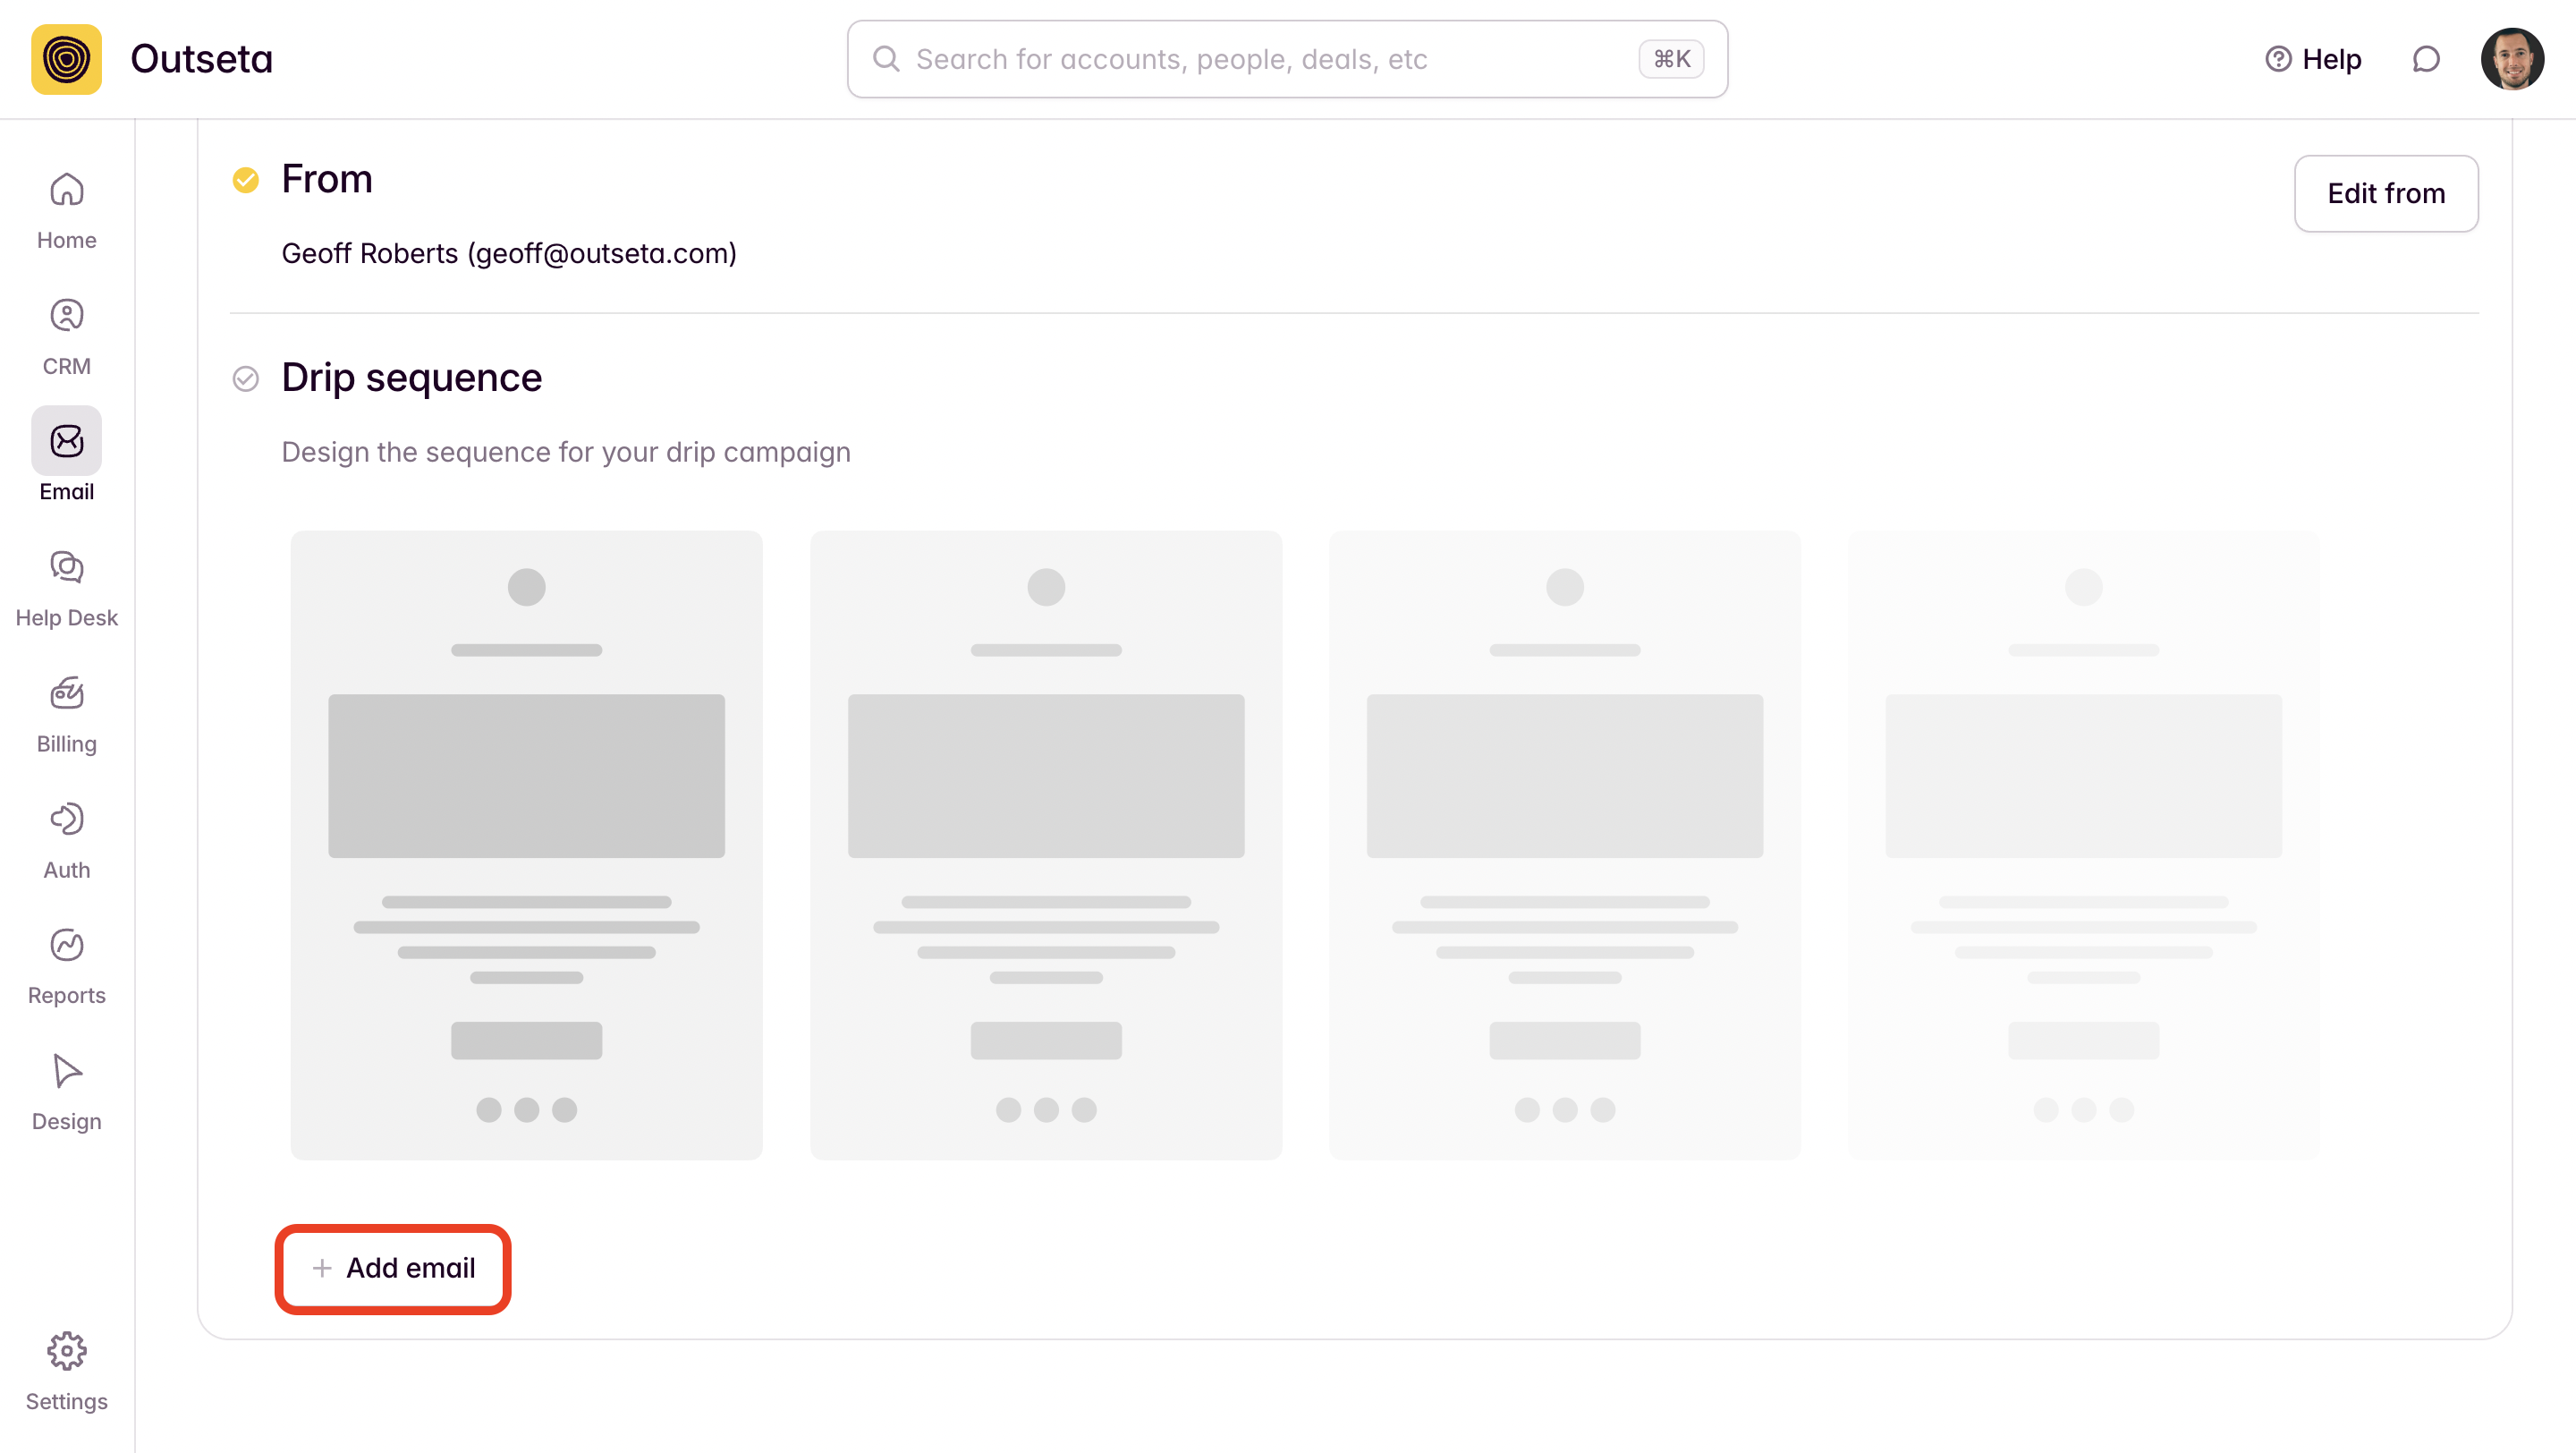
4. Specify who the message is from. Click SAVE.
5. Click ADD EMAIL to draft the first email in your sequence.
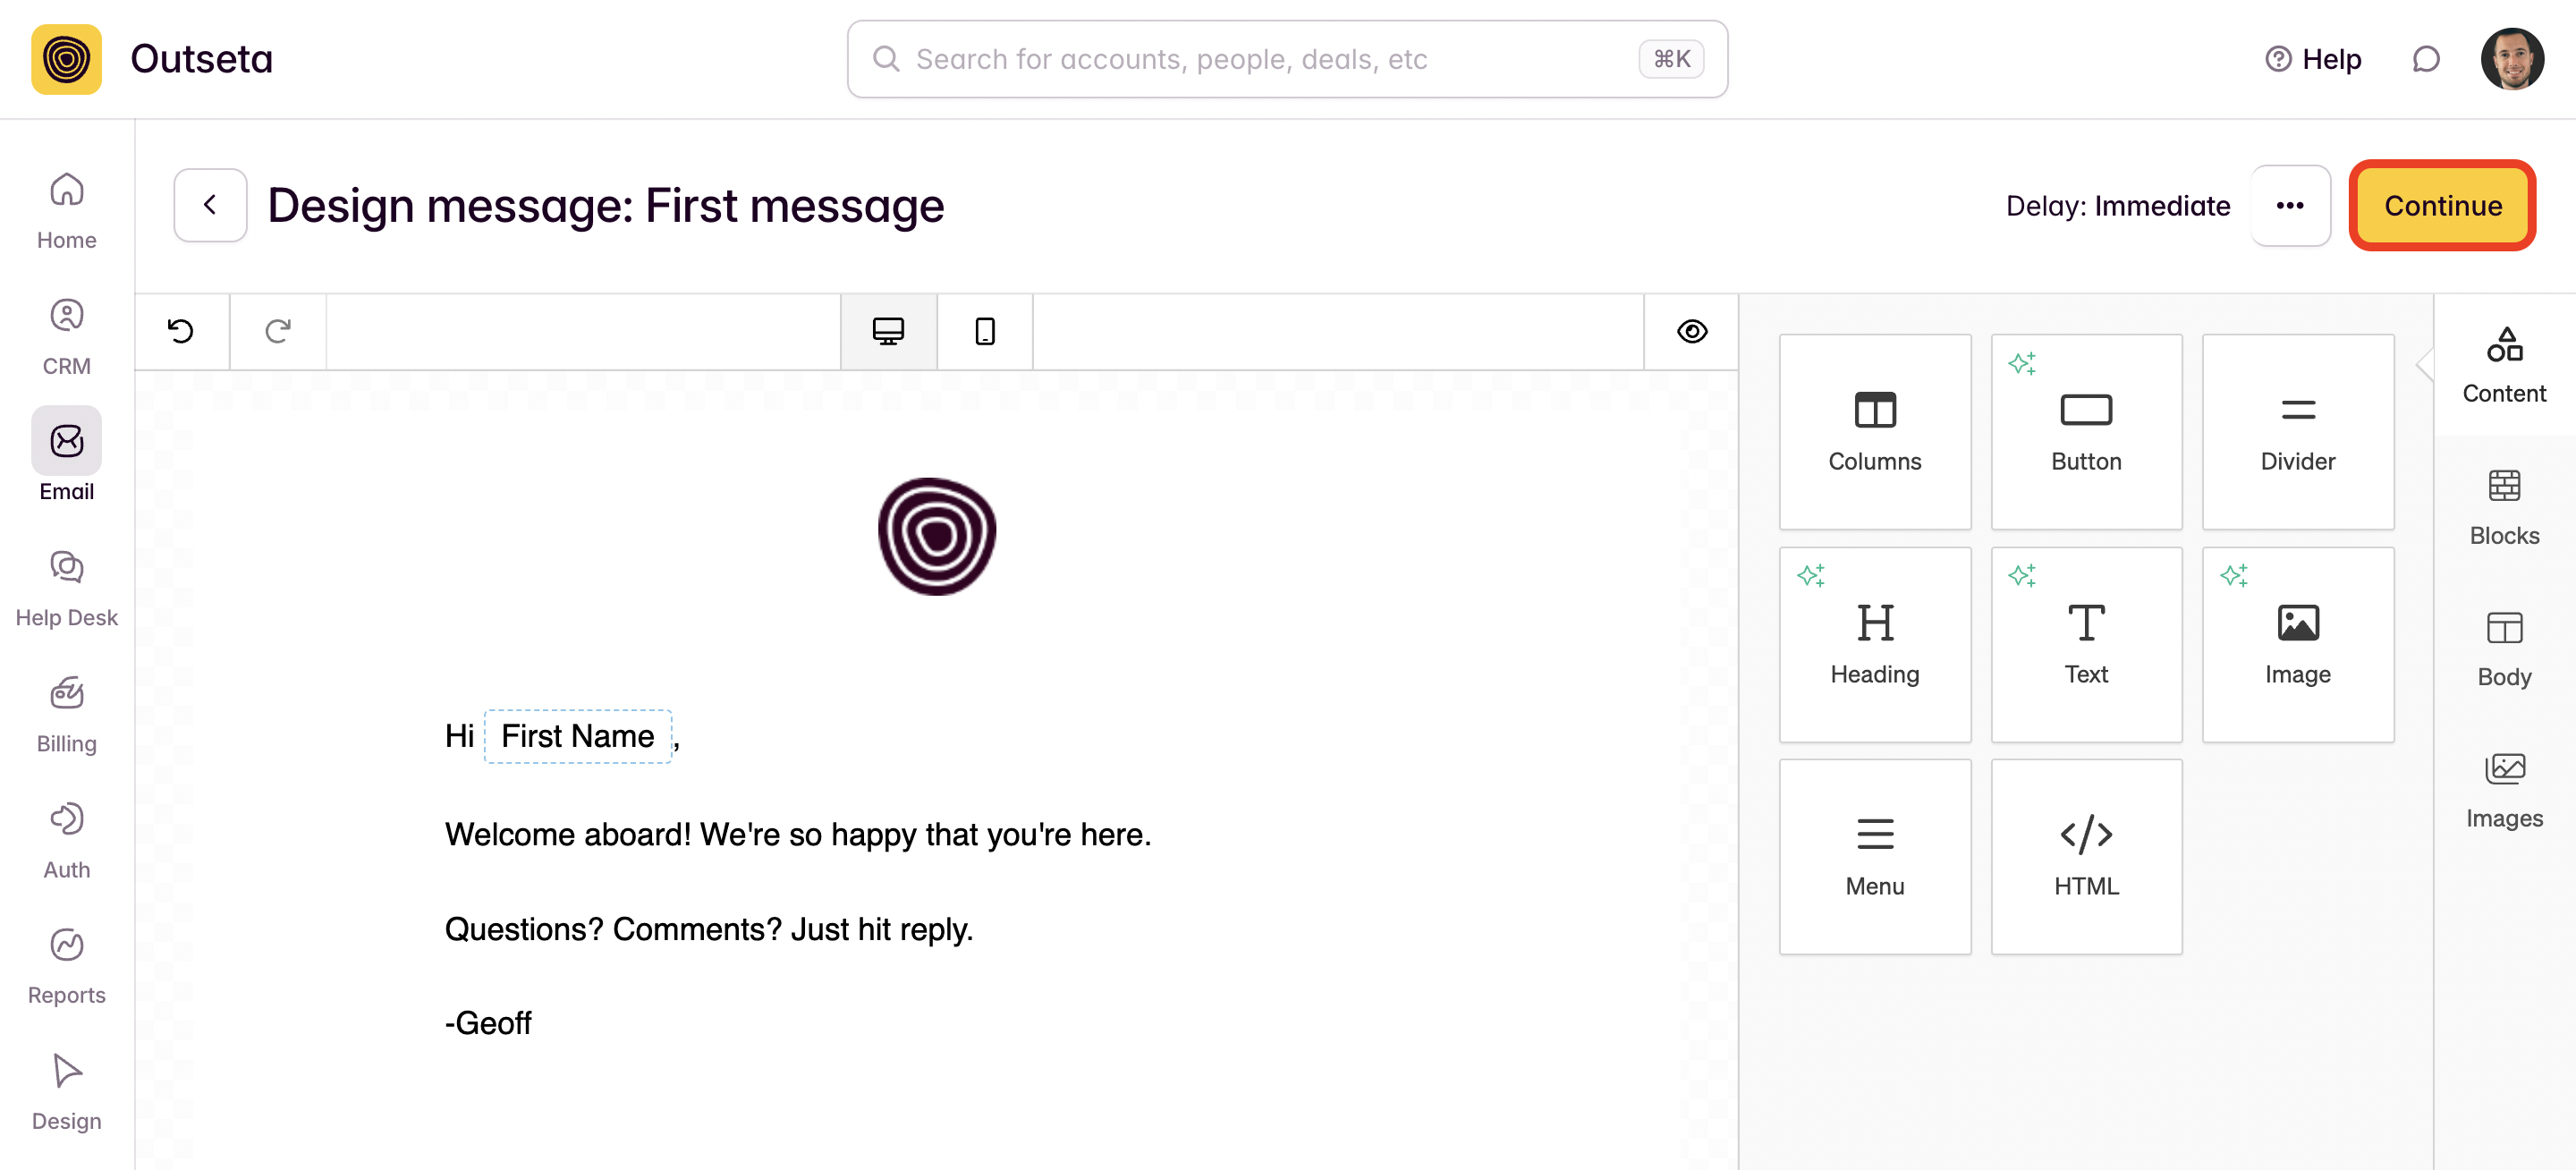
After you've chosen a template and drafted your message, click CONTINUE then ADD ANOTHER EMAIL to add subsequent messages to your drip campaign. Each message is time delayed based off of the previous message.
6. Once you've drafted all of your messages, you may want to send test emails. When you're ready to turn your drip sequence on, click ACTIVATE.
You'll see the following prompt which allows you to specify whether you want pre-existing users that meet your start conditions to receive the drip campaign. If you do not check this option, then the drip campaign will only be sent to new users who meet your start conditions.

If you need any help configuring a drip campaign, please reach out at support(at)outseta.com.