The first step to get started with Outseta is connecting your Outseta account to Stripe.
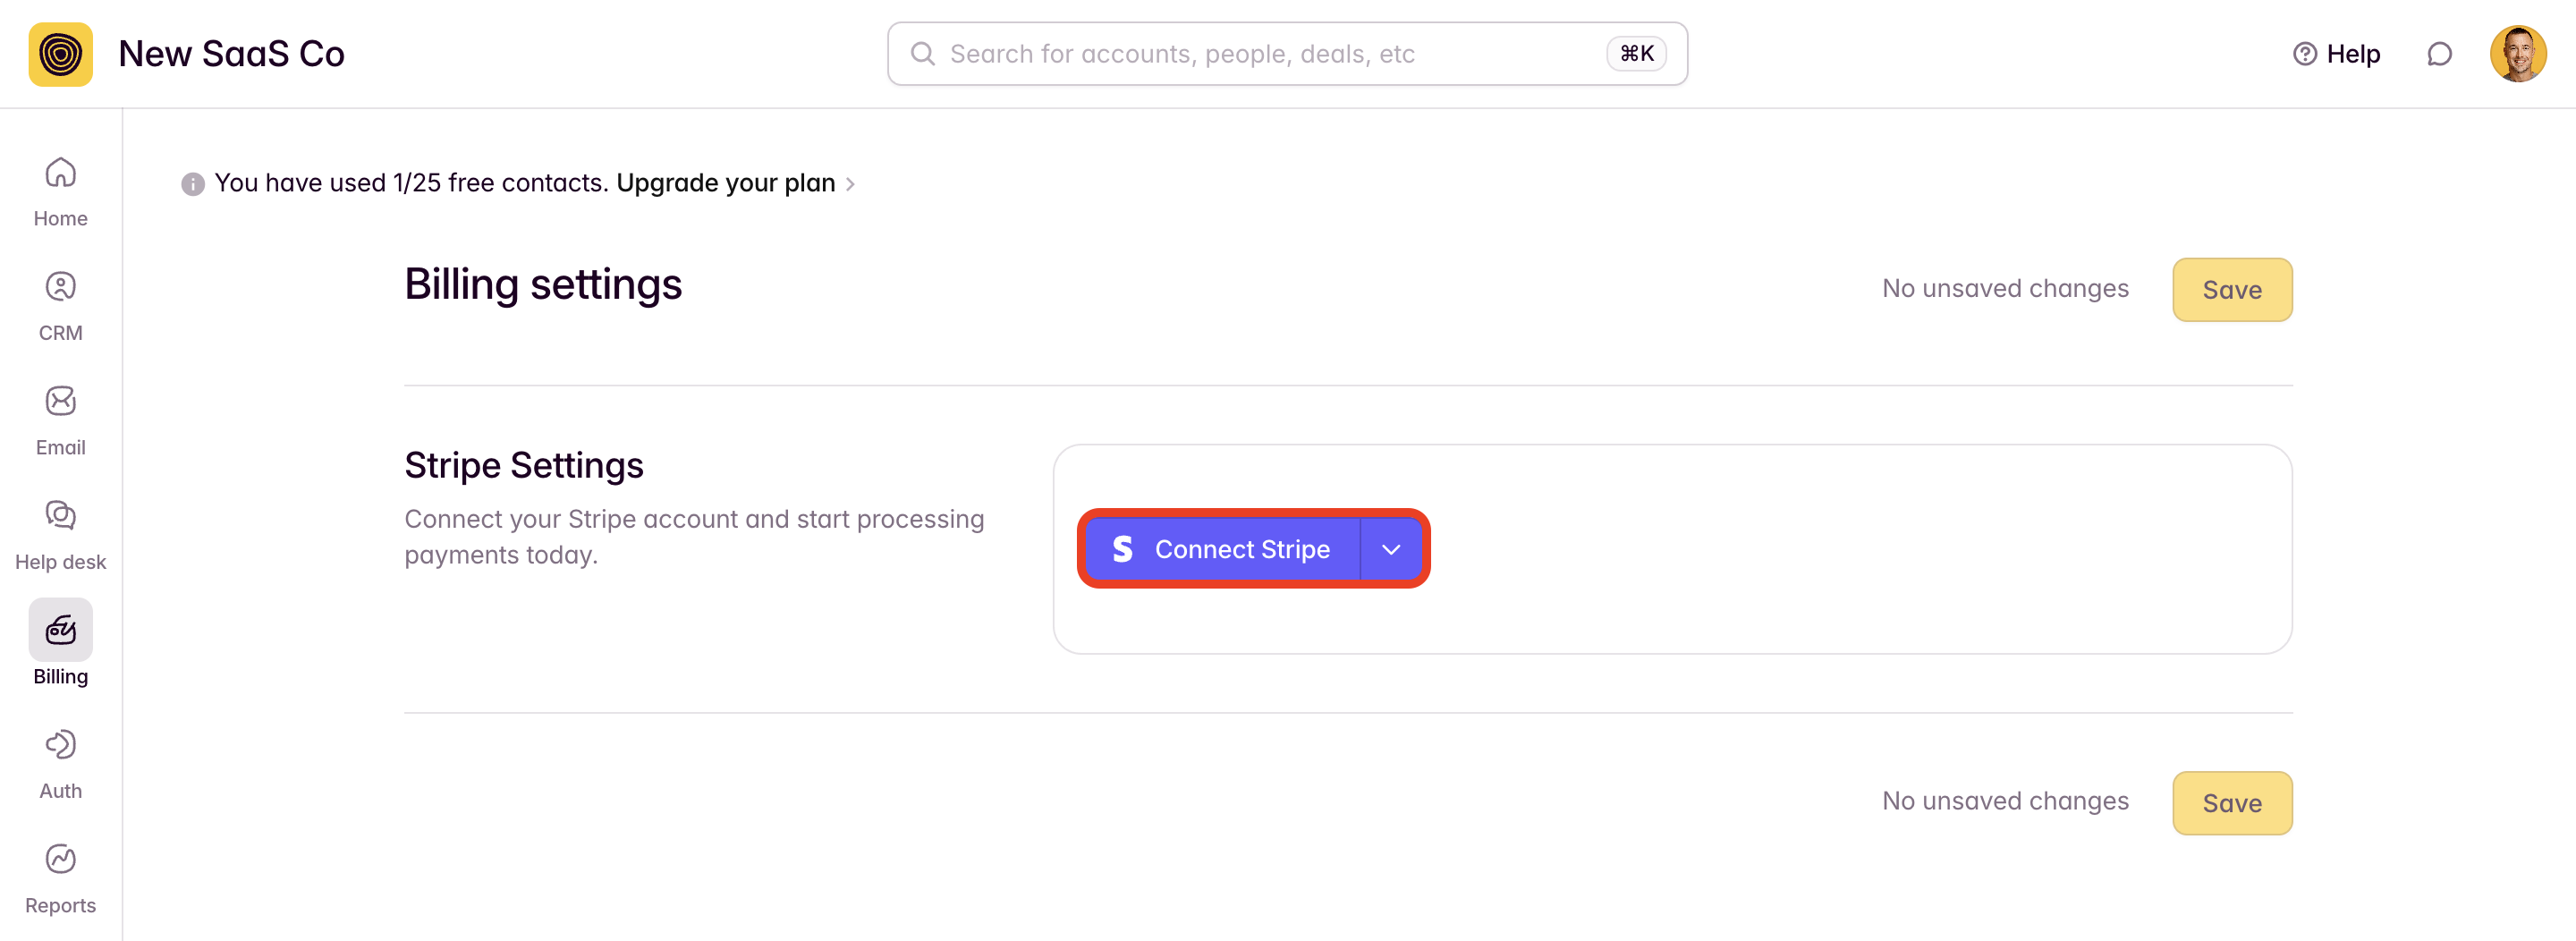
1. Login to Outseta and click BILLING > SETTINGS. Click the CONNECT TO STRIPE button.
2. You can then either sign in to your existing Stripe account, or you can follow the prompts to create one. Alternatively, you can create a Stripe account here:
https://dashboard.stripe.com/register
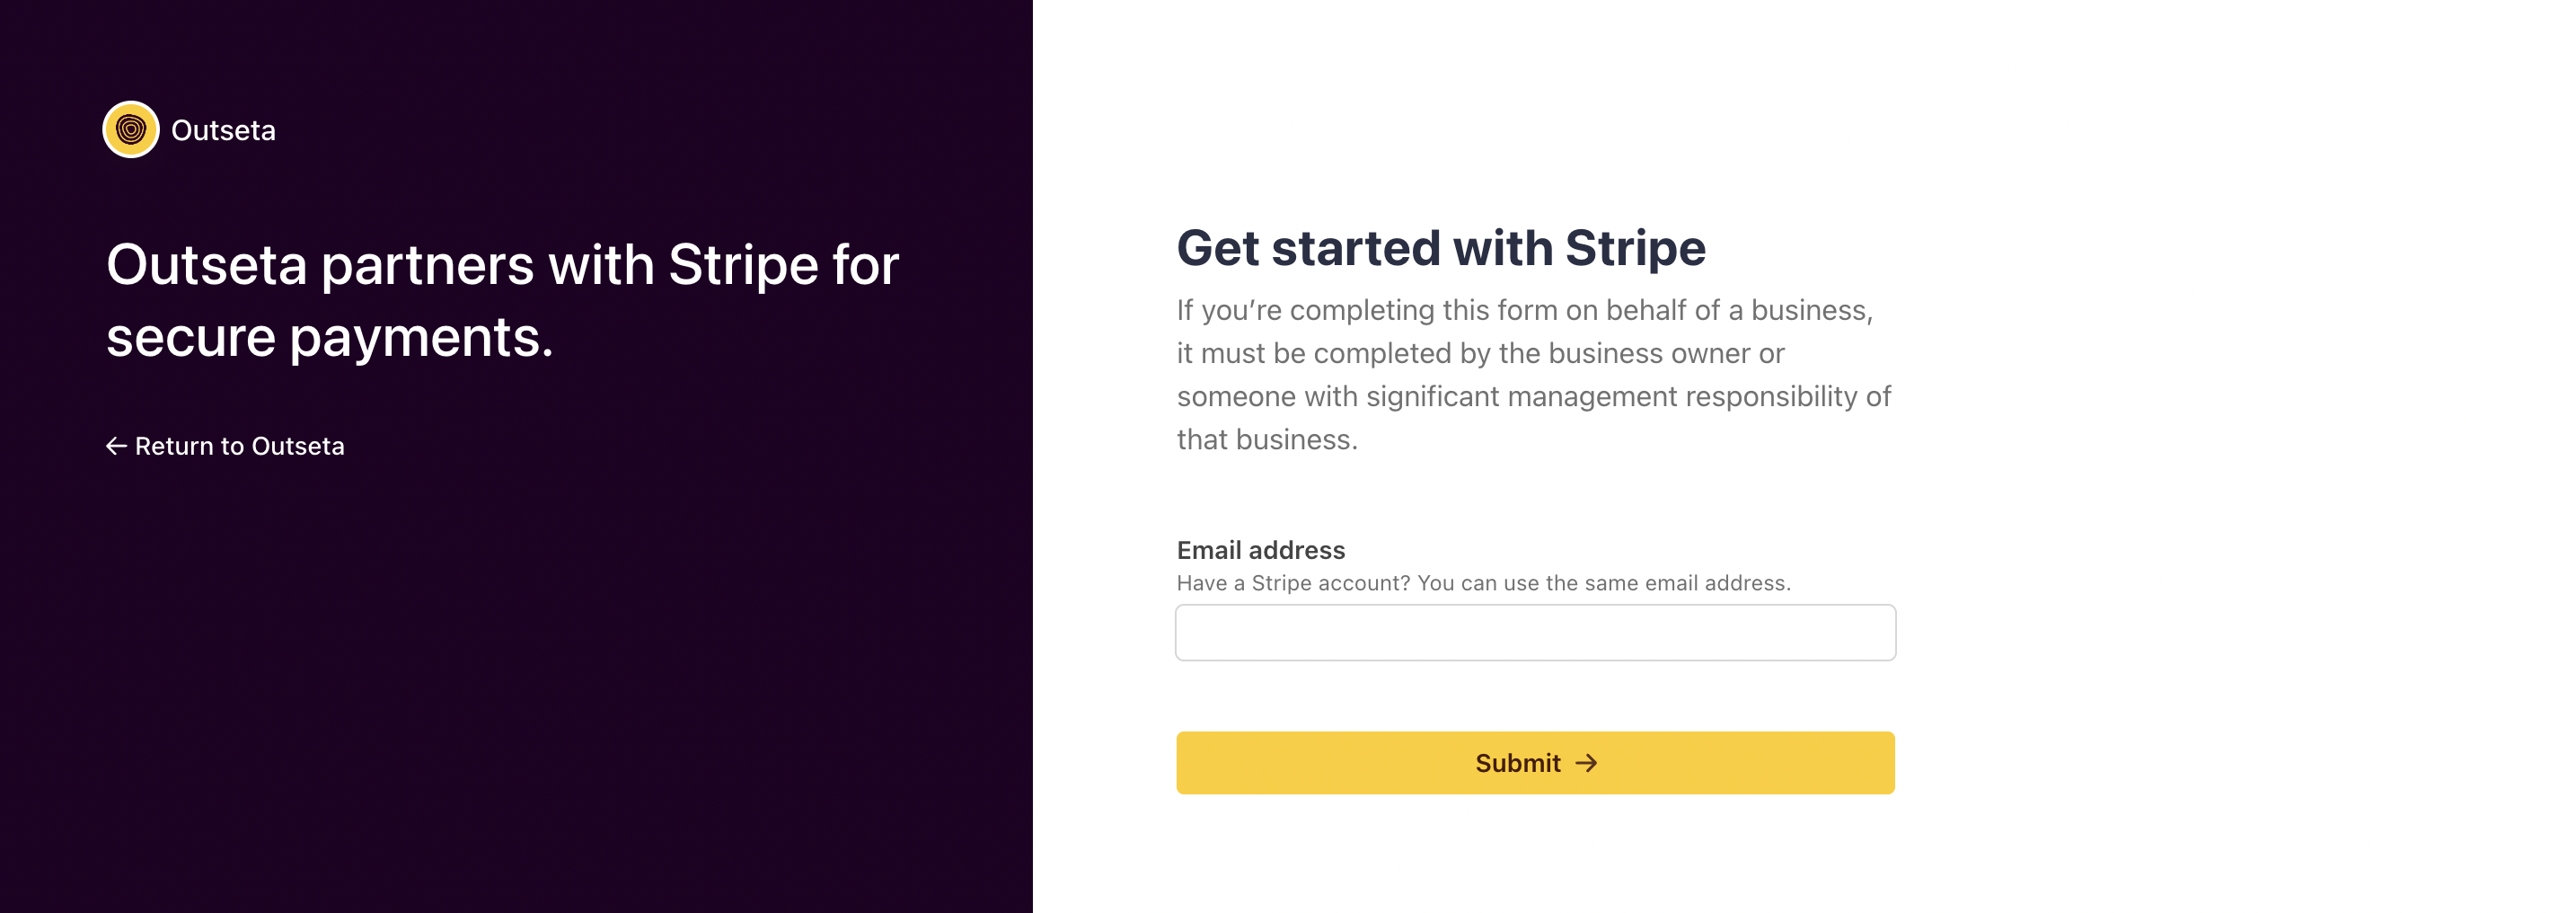
Follow the prompts to connect to your Stripe account and select the currency that you want to charge customers in.

Once you've set your primary currency and connected successfully, you'll see this message:

3. Back on the BILLING > SETTINGS page within Outseta, select your payment processing mode. Your account will be set to MANUAL mode by default—this is a protective measure for new accounts so you don't start inadvertently processing payments. Manual mode will automatically generate invoices for payments that are due, but you'll need to manually collect payments from within your Outseta account.
By selecting AUTOMATIC mode, invoices will be generated and payments will be automatically collected for any customer that has provided their billing information.
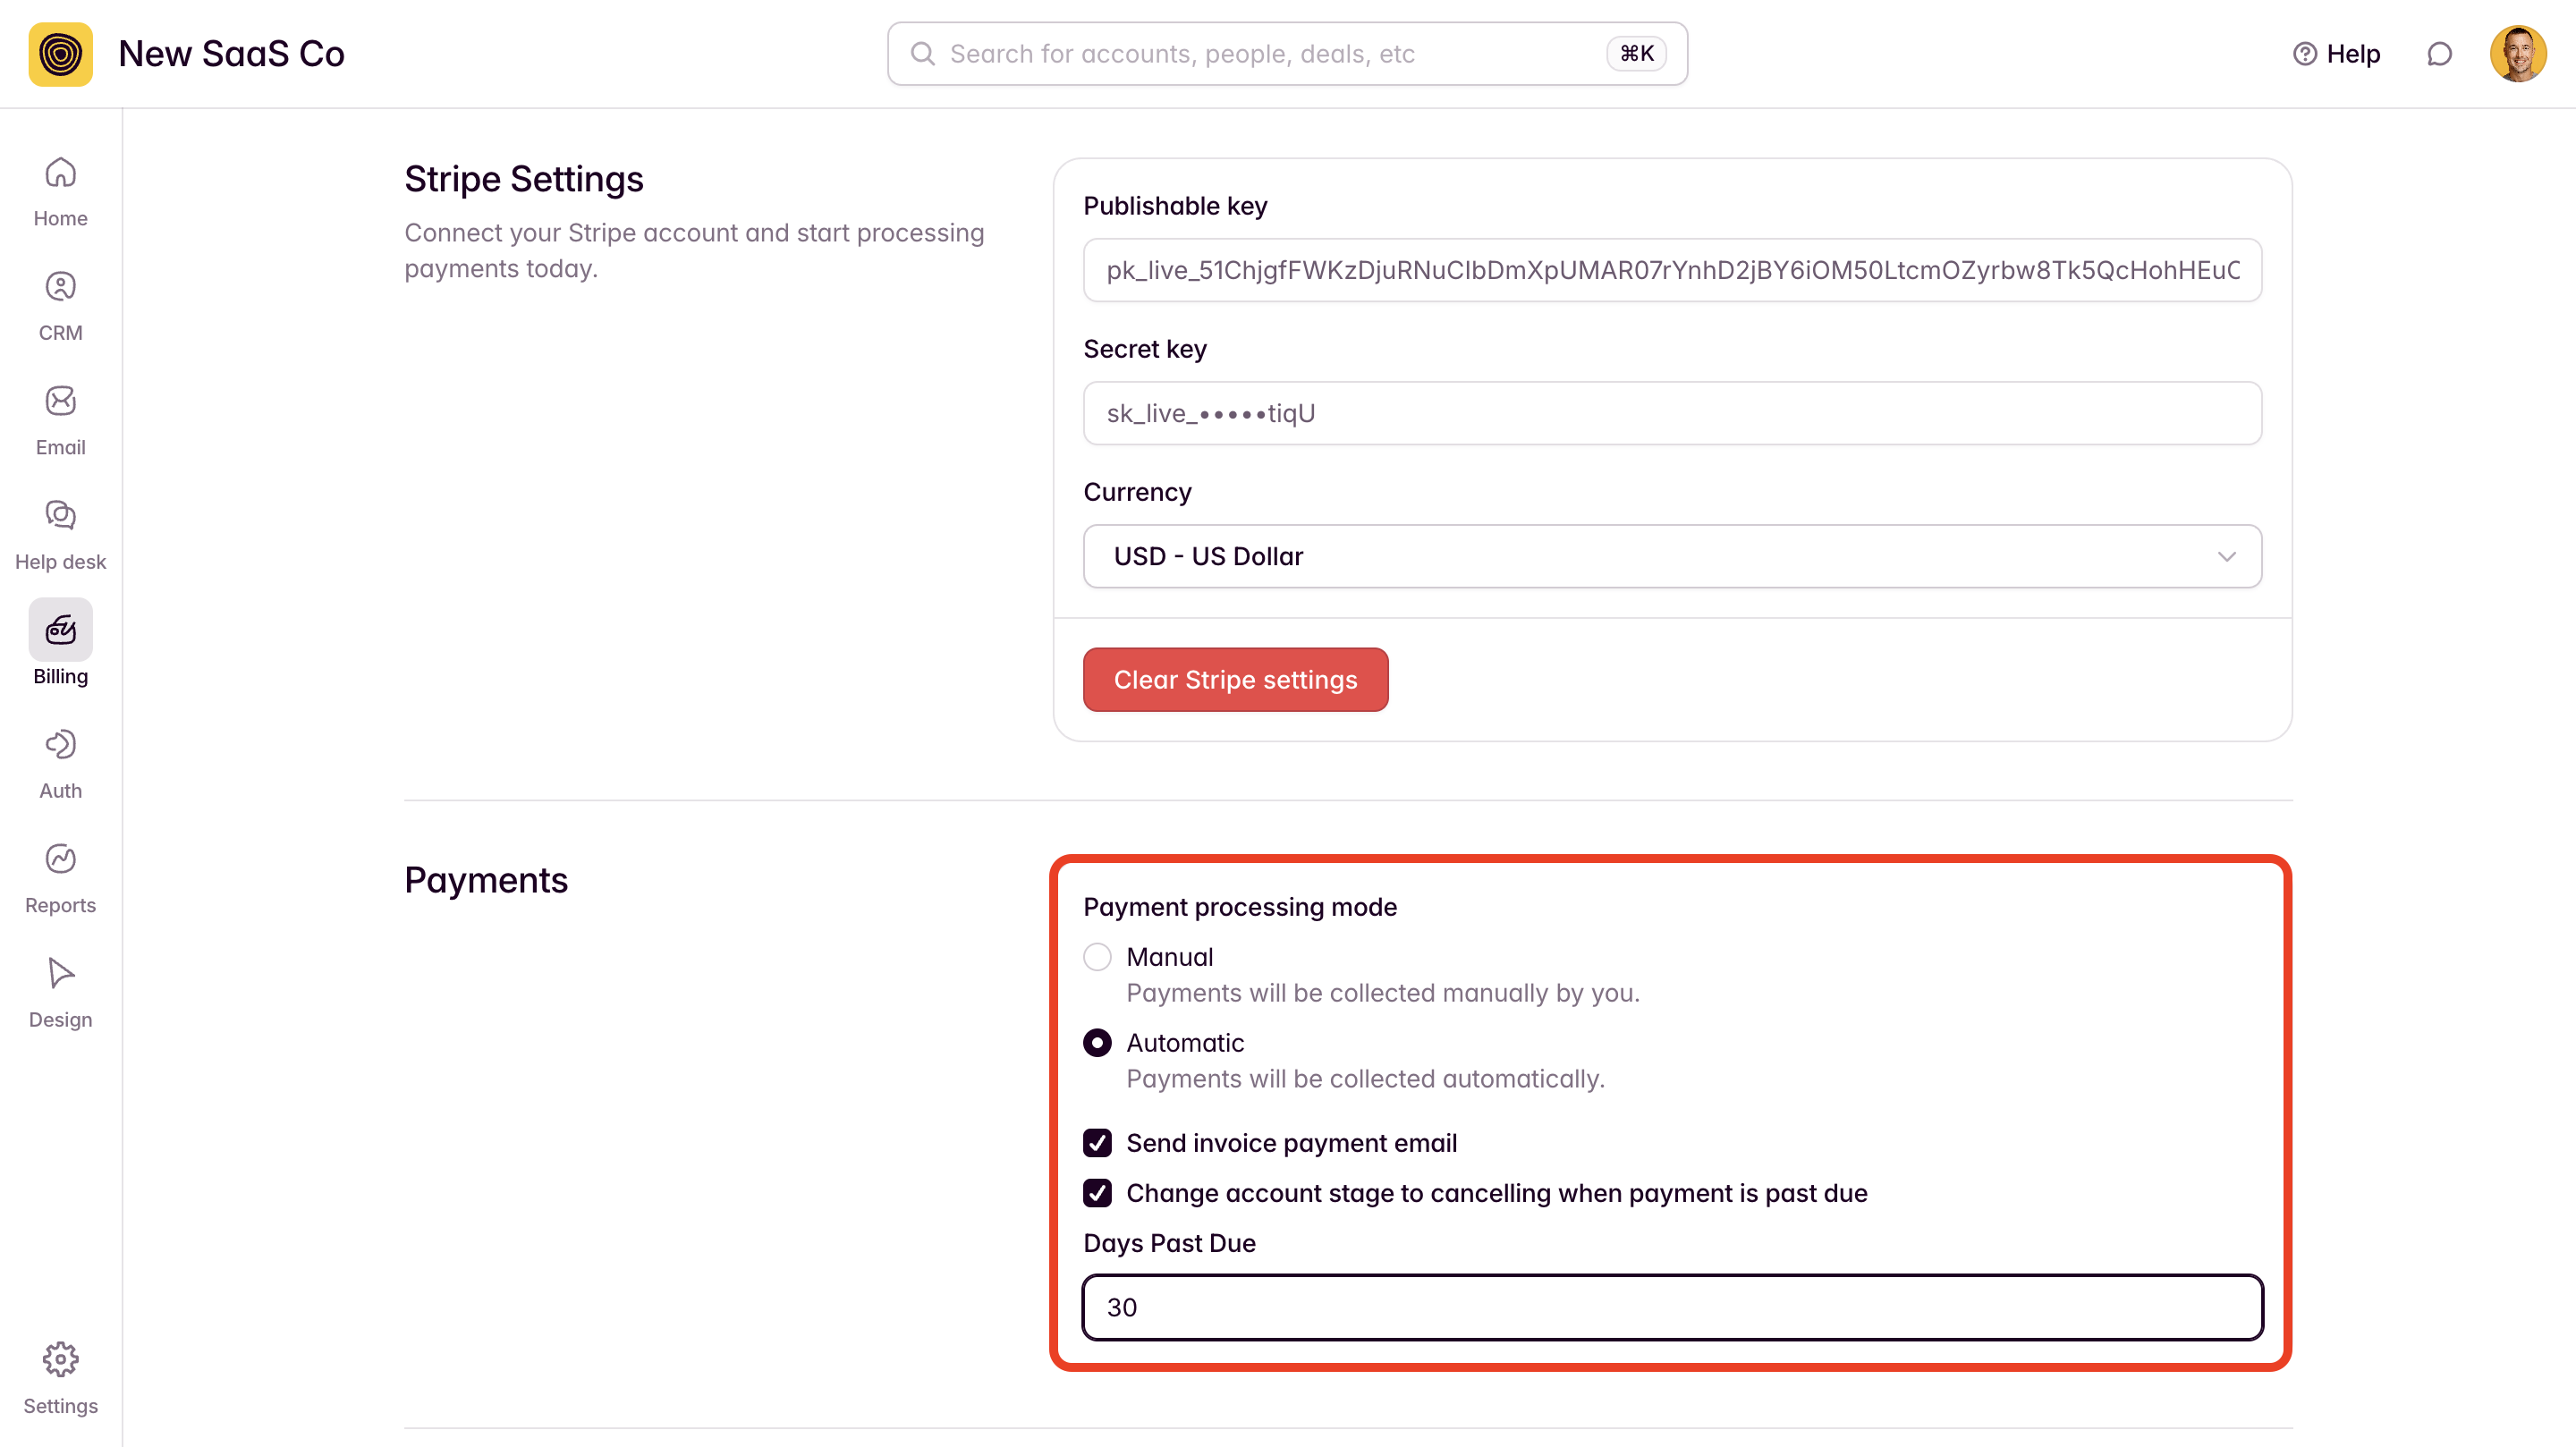
4. Select the SEND INVOICE PAYMENT EMAIL option if you'd like to email a copy of each paid invoice to your customers when you successfully process a payment.
5. Click SAVE.
NOTE: Please note that by default you will be viewing test data in your Stripe account—you'll need to toggle your account out of "Test Mode" to view live payment data. Stripe also provides TEST API KEYS that you can input into Outseta so that you can test payments without incurring actual charges. More best practices around testing payments can be found here.
If you need any help please reach out at support(at)outseta.com.